Metal Style III – Ander Aguirre Serrano
Hi, here’s my entry for the contest (description below and photos attached to the email). Thanks!
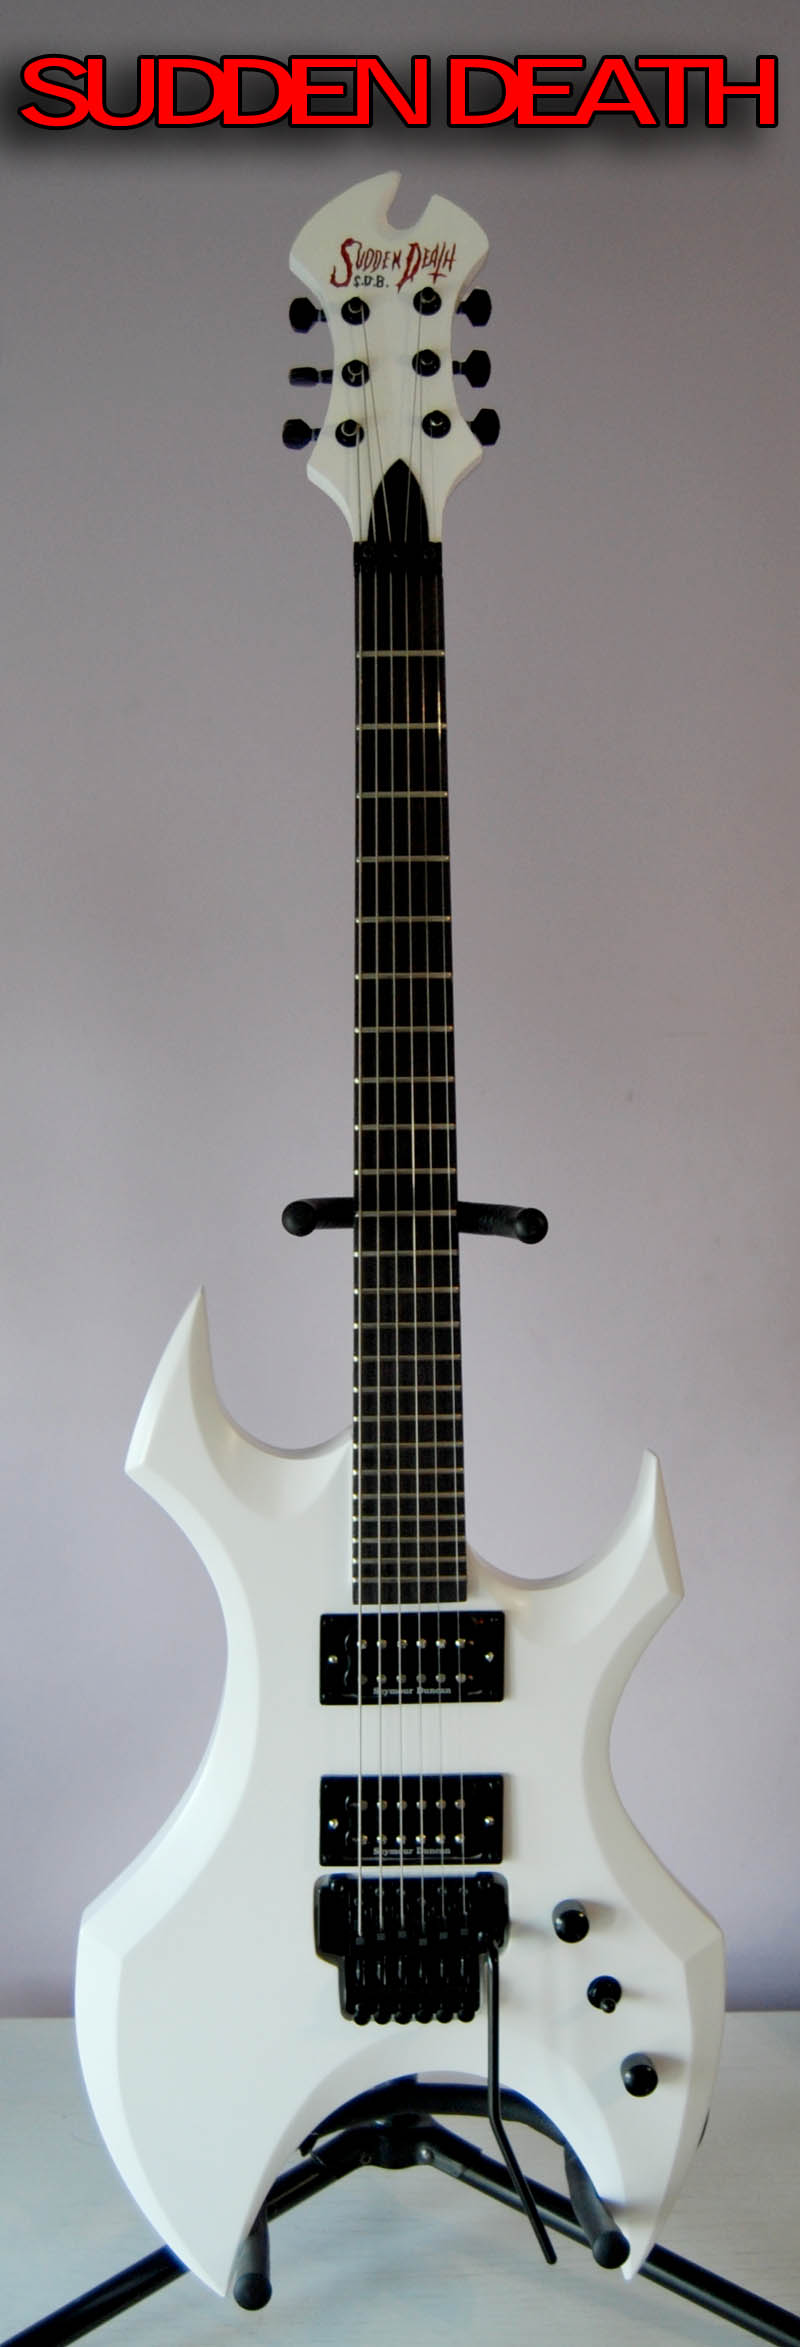
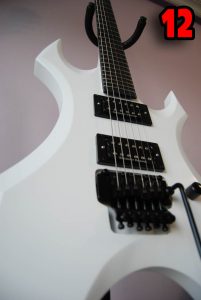
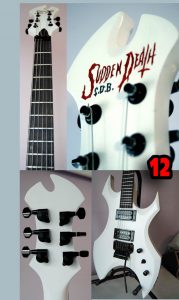
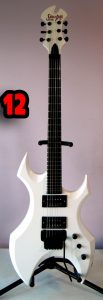
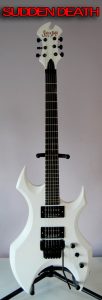
Sudden Death
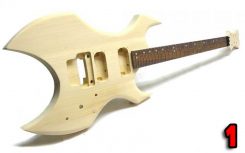
I bought the „E-Gitarren-Bausatz/Guitar Kit Metal – Style III“ guitar kit in the ML-Factory website.
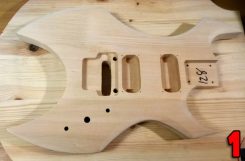
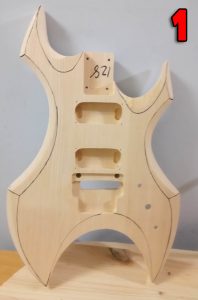
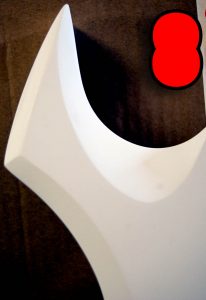
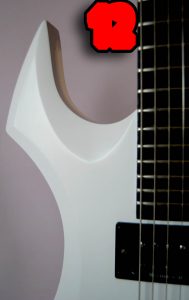
1 – My first step was to mark some guidelines to later sand the wood with different files and sandpaper until leave the edges at sharp angles.
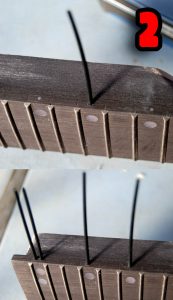
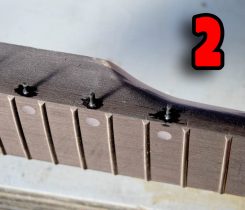
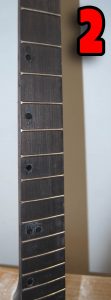
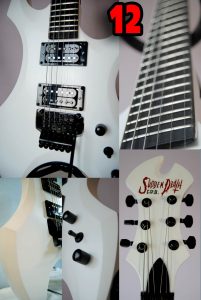
2- I removed all the fretboard white incrustations – also the markers in the edge – with a drill. In its place – and with a drop of cyanocrylate glue – I put new black-colored inlays. Then I dyed the entire fretboard with wood dye so that the incrustations were very difficult to appreciate, like a fretboard without fret markers.
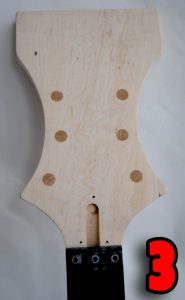
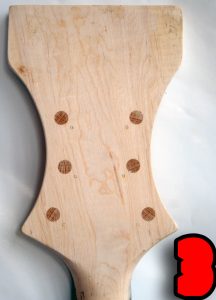
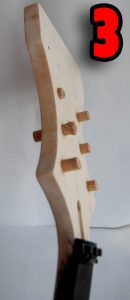
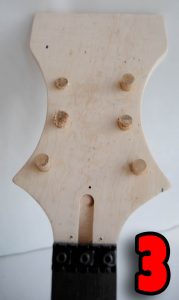
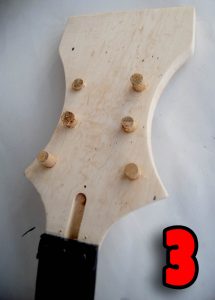
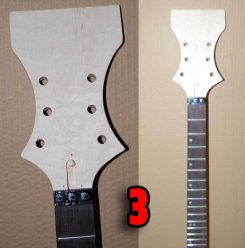
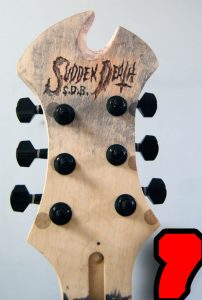
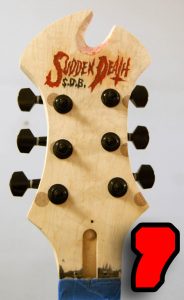
3- I filled the headstock holes with glue and some wooden cylinders. Once the glue was dry I cut the excess and sanded the headstock until it was smooth.
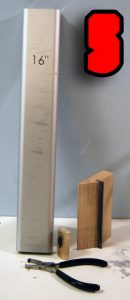
4 – I removed all the frets in the fretboard to be able to sand the new incrustations in step two and to modify the fretboard radius to 16 inches. Before sanding I adjusted the truss rod to leave the neck and the fretboard totally straight.
5 – I put brand new jumbo size frets, masked with the tape the fretboard and sand the frets until they were at the same level. Then I round one by one all the frets and polished them.
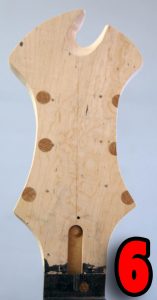
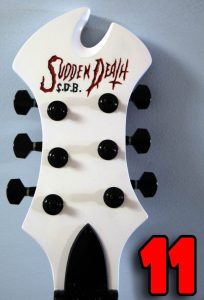
6 – I drew the headstock shape I wanted. Then I cut that shape with an electric saw and I made a recess in the detail of the top part.
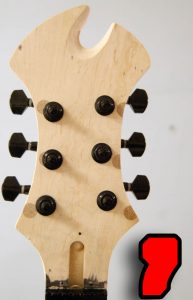
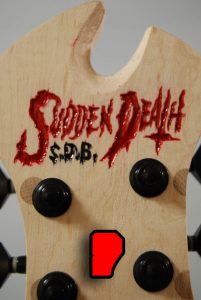
7- I made the holes for the turnbuckles and place them to see how they look. Then, I draw a logo for the guitar and carved it with the Dremel. I painted it with red and black paint to make it look like an open wound. Later I realized that it was a mistake, since later I would have to paint the headstock and it would be very difficult to paint around the letters, so I removed the paint, that was my first mistake 😉 My second mistake was to put transparent red dyed resin: I liked the result but I had the same problem, painting around the letters 🙁 At the end I chose to paint the guitar first and then paint again the logo as I did in my first option, as if it were a open wound. I removed the resin first.
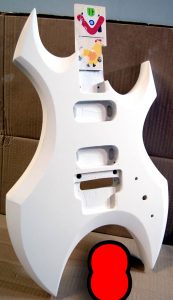
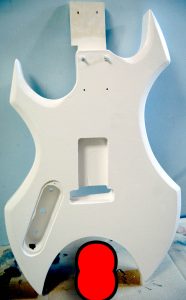
8 – Before painting the body, I gave it a wood primer. They were 6 or 7 thin layers leaving one day of drying between each layer and a smooth sanding between each layer too. The application was with roller.
9 – The paint process was exactly the same as the primer in previous step. 6 or 7 thin layers and one day of drying per layer. The application was also with a roller.
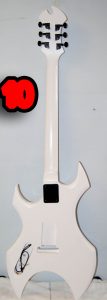
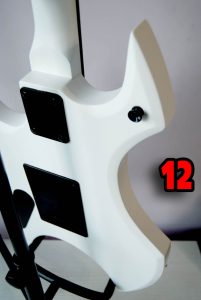
10- After the last paint layer, I sanded the body with finer and finer water sandpapers until getting a smooth finish. Then I applied two types of wax, one thicker than the other to polish the paint.
11 – With a fine brush I painted the letters with red and black before applying the wax.
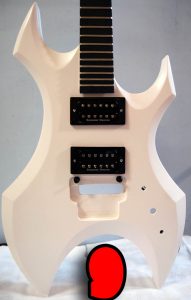
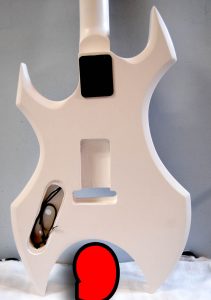
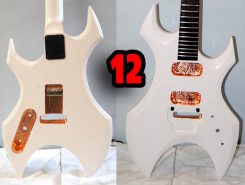
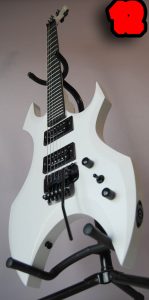
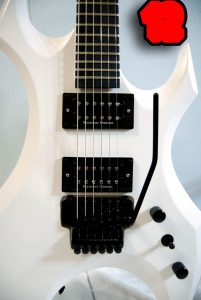
12 – I put a copper shield and finally mount the electrical part, the pickups (Seymour Duncan Distortion), the bridge and the rest of the elements.
I hope you like it!










Thanks a lot for the comments!
Good luck to all the contestants!
Happy New Year!
It is really beautiful. I like the color very much
Me gusta mucho la estetica!! Buen trabajo
Yes, I’m a bit late! And the paint takes me almost two weeks to finish. Greetings from Spain!
Great work! I love the contrast between the pure white and the black components. It looks very smooth and professional.
Hello, good morning.
Thank god for your awake two days before the Guitar-Contest ends.
Greetings from another long-sleeper,
Ed K.
Yes, I’m a bit late! And the paint takes me almost two weeks to finish. Greetings from Spain!